Drainage holes are an important feature for most flower pots and planters. Proper drainage allows excess water to flow out of the soil, preventing the roots from sitting in soggy conditions. While certain plants like orchids may tolerate less drainage, most plants thrive when given an environment where the soil can dry out between watering.
If you have a beautiful planter or flower pot without built-in drainage holes, there are several solutions to provide the drainage plants need to stay healthy. With some simple materials like gravel, sand, perlite or charcoal added to the bottom of the planter, you can create a drainage layer for excess water. We will explore various options and strategies you can adopt to enhance drainage in flower pots or planter.
1) Using a Drainage Layer
A drainage layer at the bottom of a planter without drainage holes is one strategy to help eliminate excess water. This involves adding a base layer of gravel, pebbles, clay pellets, or other coarse materials. The drainage layer serves as a reservoir for excess water to gather, allowing the soil above to stay well-drained and better aerated.
A 2 – 4 inch layer of drainage material is typically recommended. Smaller gravel around 1/4 – 1/2 inch provides more space for air pockets than larger rocks. Just make sure the gravel is larger than the planter’s drainage hole size, so the rocks don’t leak out.
However, a drainage layer alone does not guarantee sufficient drainage, as overly wet soil can still become waterlogged. The drainage layer improves conditions but other amendments and careful watering are advised. The key is to create an optimal balance of drainage and moisture retention for the specific plants’ needs.
2) Adding Amendments
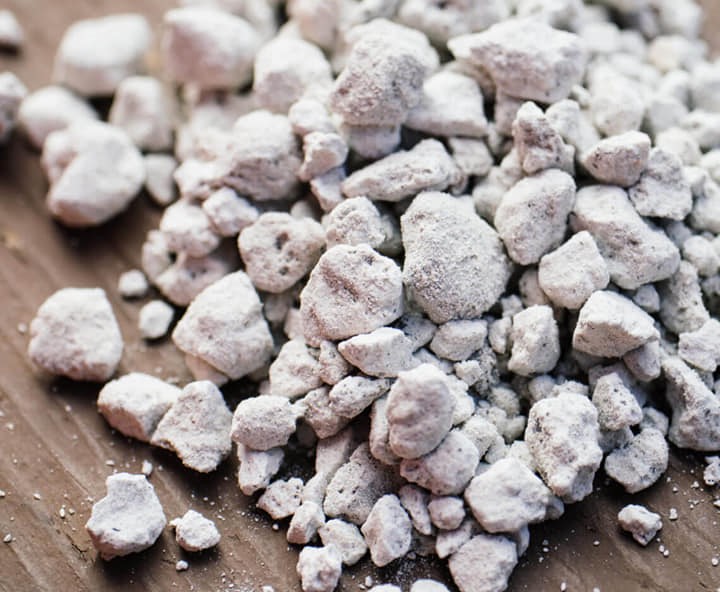
Soil amendments like perlite, vermiculite, and sand can be added to potting mix to improve drainage for pots without holes. Perlite is made from volcanic glass and looks like little white balls. It creates air pockets in the soil that allow excess water to drain through. Aim for 10-20% perlite in your potting mix.
Vermiculite is made from mineral flakes that expand when heated. It has a spongy texture that retains moisture while still permitting airflow. Use 10-30% vermiculite in your mix. Sand particles are larger than regular potting soil so they create gaps for drainage. Use a coarse builder’s sand and limit it to 20% of the total mix or it may become too porous.
A good amended potting mix for non-draining containers is 60% potting soil, 20% perlite, 10% vermiculite and 10% sand. The amendments lift the soil to prevent compaction while allowing gravity to pull excess moisture down and out the bottom of the pot. It is recommended that you test drainage by watering amended soil in a pot without holes before using it.
3) Selecting Suitable Plants
When selecting plants for containers without drainage holes, choose varieties that prefer moist soil and high humidity. Here are some good options:
– Peace lily: With its tropical origins, the peace lily thrives in damp soil. Allow it to dry out slightly between waterings. It enjoys bright, indirect light.
– Chinese evergreen: An easy-care houseplant, the Chinese evergreen flourishes in humid conditions and moist soil that is kept constantly evenly moist. It grows well in low to bright indirect light.
– Pothos: With its trailing vines, pothos makes an attractive accent in a planter. It prefers moist soil and high humidity. Allow the top inch of soil to dry out between waterings. Pothos can tolerate low indirect light.
– Philodendron: A tropical plant, philodendrons enjoy evenly moist soil. Allow the top couple inches of soil to dry out between waterings. Provide bright, indirect light.
– Ferns: From hardy Boston ferns to delicate maidenhair ferns, most ferns relish humid conditions and moist soil. Keep their soil consistently damp but not soggy. Place in bright, indirect light.
– Pilea: Also called Chinese money plant, the pilea plant thrives in humid conditions and evenly moist soil. Allow the top inch of soil to dry out between waterings. Pileas grow well in bright, indirect light.
Choosing plants that naturally prefer moist soil and humidity is key to success when growing them in containers without drainage holes. Provide the right care and these plants can thrive.
4) Using self-watering inserts
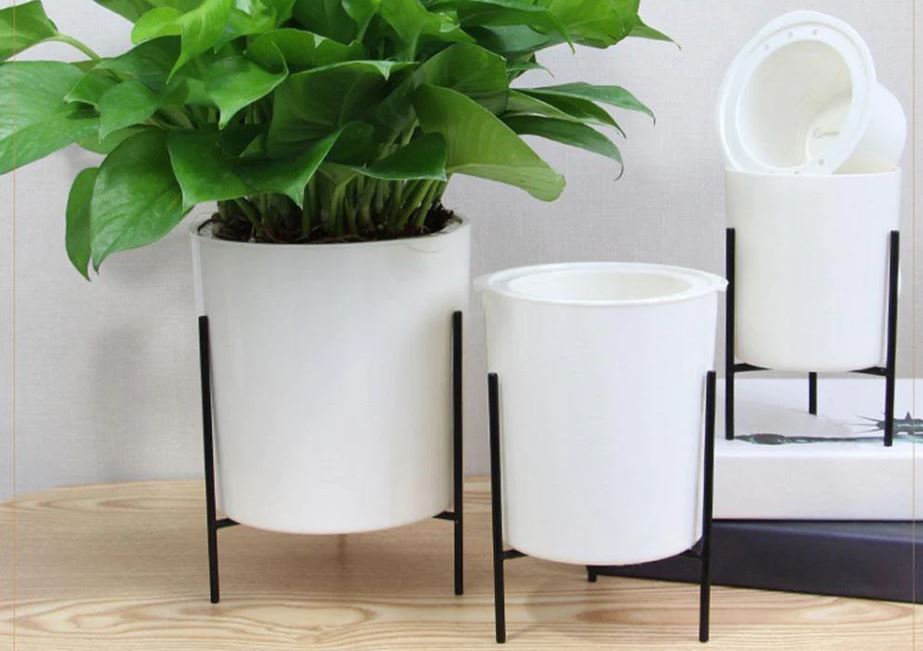
Self-watering inserts are devices that can be placed in the bottom of containers without drainage holes to help prevent waterlogging. These inserts work by creating a reservoir at the base of the pot that absorbs excess water, while allowing the soil above to stay moist but not soggy.
There are a few types of self-watering inserts available:
– Plastic or terracotta wicks: These absorb water from the reservoir up into the soil. Brands like EasyBloom and Daisy Chain make wick systems designed for planters.
– Water reservoirs: These create a water tank at the bottom of the pot. Water gradually releases through slits in the side, keeping the soil evenly moist. Companies like Blumat and Ollas make reservoir inserts.
– Absorbent mats: These mats go at the bottom of the pot and soak up excess water like a sponge. Brands like Vitalink and Dame Products have mats for planters.
How To Use Self-Watering Inserts
To use a self-watering insert;
- First place a layer of gravel or pebbles at the bottom of the pot for drainage.
- Place the insert on top according to the manufacturer’s instructions.
- Add your potting soil on top, filling the container most of the way.
- Water your plant as usual, allowing any excess to drain into the insert’s reservoir.
- The insert will wick water back up as needed to keep the soil moist.
Self-watering inserts are great options for containers without drainage holes. They allow you to grow plants that need moist soil without risking waterlogged roots. Just be sure to read the product instructions and check moisture levels periodically. With the right insert, you can successfully grow plants in decorative pots without drainage holes!
5) Watering Carefully
One of the biggest risks when growing plants in containers without drainage holes is overwatering. Without drainage holes to allow excess moisture to escape, it’s very easy to soak the potting mix and roots to the point of drowning your plants. Preventing overwatering requires careful attention and following some simple guidelines:
– Water less frequently: Without drainage, you can easily go 2-4 weeks between waterings for many plants. Allow the top inch or two of soil to dry out between waterings.
– Water thoroughly, but slowly: Add water gradually and evenly across the surface of the pot. Avoid just dumping water in one spot. Give the water time to soak in to moisten the entire potting mix without pooling at the bottom.
– Know when to stop: Add water until it just starts to drain out the bottom, then stop. Don’t keep pouring in more water once it starts flowing out.
– Wait and check soil: After watering, wait at least 15-20 minutes for excess moisture to absorb, then stick your finger into the soil to check the moisture level. It should feel damp but not soggy through the entire pot.
– Adjust as needed: If you find standing water in the saucer or drainage path under the pot after watering, you added too much. Water less next time.
Signs of overwatering to watch for are yellowing leaves, leaf drop, soft or mushy stems, mold growth on soil surface, foul odor from pot, and roots rotting or dying back. If you see these, allow the plant to dry out for a prolonged period before watering again.
6) Using Cache Pots
One clever solution for pots without drainage holes is to use a cache pot system, also known as double potting. This involves placing the nursery pot inside a slightly larger decorative container, known as the cache pot. The cache pot doesn’t have drainage holes, but provides a reservoir for excess water to drain into from the inner nursery pot.
Here’s how it works:
– Choose a cache pot that is 2-3 inches wider in diameter than the nursery pot it will contain. The extra space in between allows room for drainage.
– Place pebbles, gravel, or other filler material like styrofoam packing peanuts in the bottom of the cache pot. This will elevate the inner nursery pot up above any accumulated water.
– Water the plant in the inner nursery pot as normal, letting excess water drain freely through the bottom drainage holes. The excess water will collect in the space between the two pots.
– To manage moisture in the cache pot, periodically empty out any accumulated water so the inner pot doesn’t sit in standing water. Tilt the cache pot to pour out excess water or use a turkey baster to suck it out.
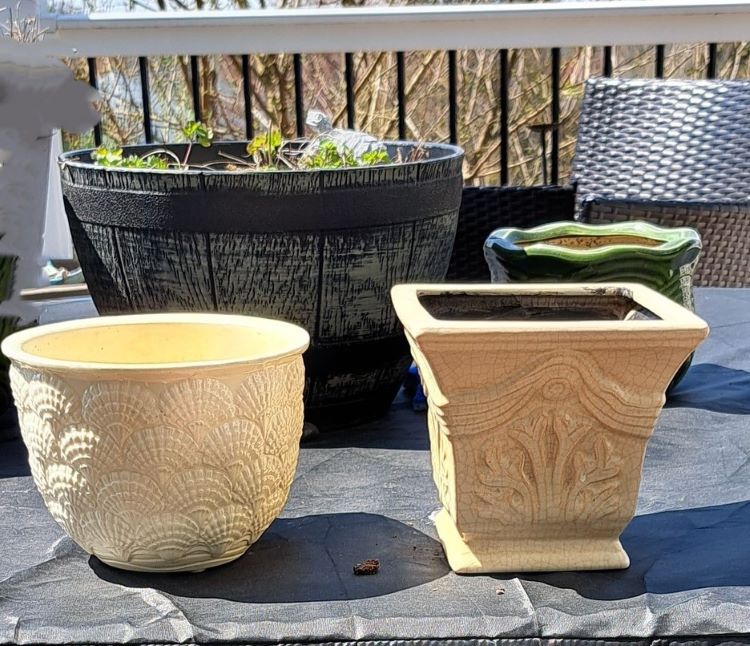
Plastic and ceramic tend to be good choices for cache pots since they are waterproof and help contain any overflow. Avoid unglazed terra-cotta which can seep water and defeat the purpose of creating an air space for drainage in between pots. Choose cache pots with drip trays or saucers to tidy up any overflow.
The cache pot system neatly contains moisture while elevating the plant above waterlogged soil. Just take care to empty excess water periodically and choose cache pots with good drainage space around the inner nursery pot. This allows even pots without holes to have adequate drainage.
7) Drilling Drainage Holes
Drilling extra drainage holes in pots without them is one of the most effective ways to improve drainage. With the right tools, it’s simple to do. You’ll need a power drill, a masonry drill bit for ceramic pots or a standard drill bit for plastic, and eye protection. Wearing gloves is also a good idea.
To drill into ceramic,
- Use a carbide or diamond-tipped masonry bit.
- Run the drill at high speed to avoid cracking the pot.
- Drill from the inside of the pot outwards to hide the ragged edges.
For plastic pots,
- You can use a standard twist or spade drill bit.
- Go slowly to avoid melting the plastic.
- Placing a block of scrap wood inside can help reduce chatter.
In either case, space additional drainage holes every 2-4 inches around the bottom. Try not to drill directly through existing root balls if possible. This will minimize damage to the roots. However, most plants can handle some root loss. As long as you don’t remove more than 1/3 of the roots, your plant should recover with proper care.
Adding extra drainage holes gives you a quick fix for improving any pot without enough drainage. Just be sure to take precautions for safety and protecting existing roots. With care, you can upgrade any container to have excellent drainage.
Related: 3 Major Importance of Drainage Holes in Planting Pots
Final Words,
Naturally, containers with drainage holes are ideal for plants; they provide proper drainage and prevent waterlogged soil. Choosing plants suited to the environment, using self-watering inserts, watering carefully, and using cache pots can also compensate for lack of drainage holes.
Creating your own drainage by drilling holes, adding a drainage layer of rocks, pebbles, or woodchips, using soil amendments are other options. With some adjustments, non-draining planters can be used successfully for many plants.